Homemade yogurt? When I first saw this on the tv I was astonished! How something like that was possible? After that moment I searched a lot about the subject, saw different recipes, read different opinions. I can say that there was a time that I only searched this (when I get curious I’ve to go deep in the subject).
If you know nothing about this, I can tell you the advantages about making homemade yogurt right away: it’s eco-friendly since the glass cups are always reused, it’s cheaper and it’s pretty (I talk for myself since I found the process so simple, even thought I never knew anyone who does it, expect in the internet). And one very important thing: we know everything that’s in there.
First: science lesson (I’ll keep it short I promised). I’m going to explain how yogurt is created (I told you I like to search about everything). There are two types of bacteria that make yogurt possible: Streptococcus thermophilus and Lactobacillus bulgaricus. They “eat” the lactose from the milk and release lactic acid (which causes the curd of the milk). These bacteria love to live in a warm environment (around 40ºC).
This is a simple way to explain all this. Search more if this made you interested!
Now let’s go to the actual recipe.
I used to make my homemade yogurt in the oven but my boyfriend recently bought me this: (thank you!). Anyway I’ll explain to do it without the yogurt maker.
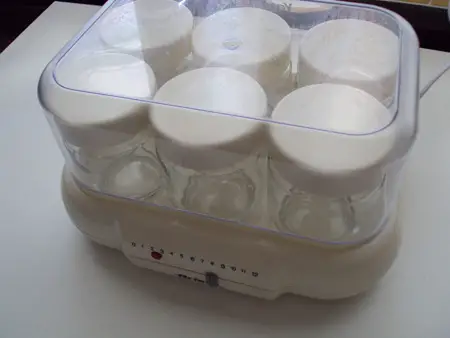
Heat one liter of milk with 100ml of sugar (if you liked them without sugar remove this, I just can’t eat them without any sugar) and 100 ml of powdered milk (this will add creaminess to your yogurt).
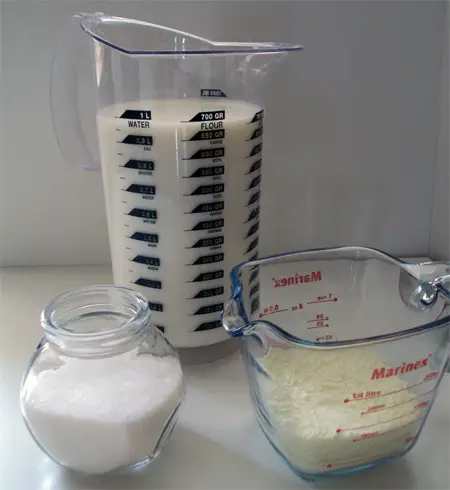
Heat until it reaches about 60ºC/140ºF. I’ve a thermometer (now I thank my brother) but if you don’t have one basically you’ve to be able to keep your finger in the milk for about 2 seconds, if you can’t it’s already too hot (you don’t have to be very precise at this point).
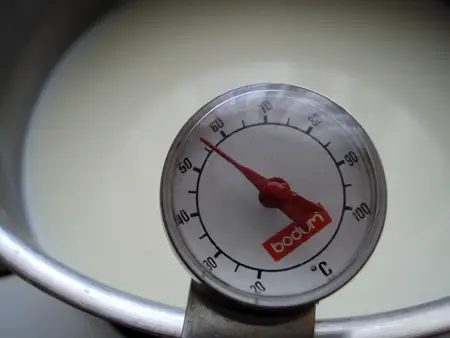
Now it’s time to wait until the temperature of the milk reaches about 42ºC/108ºF. The milk temperature must feel like a warm bath, not too warm or you’ll kill the bacteria (in the first times it’s better to leave it cool down a little bit than to have only milk in the end).
Where are we going to find bacteria? In yogurt of course! I use a natural yogurt of 120gr (flavoured yogurt may not work so good). You’ll also need a hand blender or a whisk.
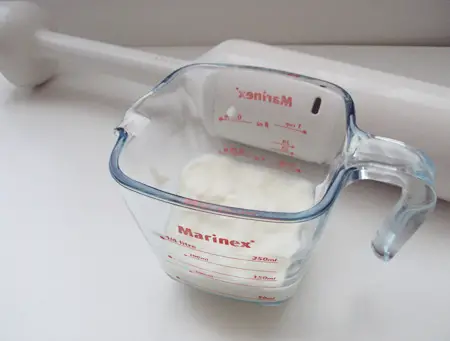
Now add the yogurt and mix. This usually leaves some foam in the milk, I remove it because it leaves a weird texture in the yogurt.
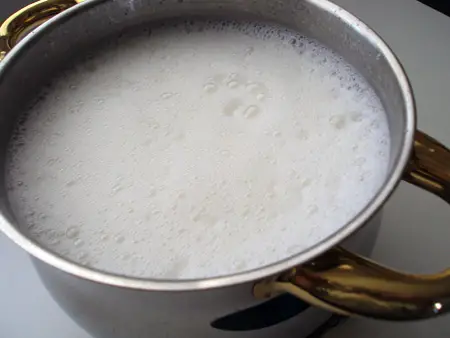
Boil some water and pour it in a plastic container. I use this to sterilize my glass containers.
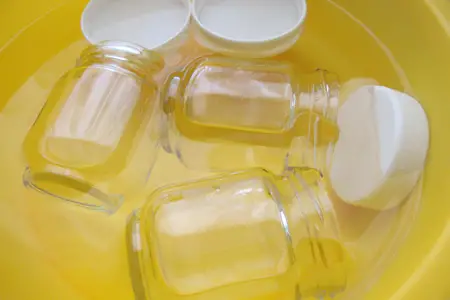
Remove the glass containers and pour the milk on it. (I had some fun taking these photos)
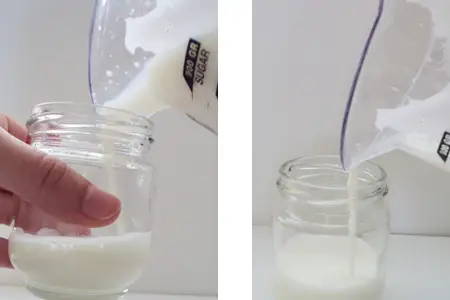
Yogurts ready to go:

Cover your homemade yogurt maker with a towel to make sure the heat stays in.
Oven method: In this method you’ve to work rather fast to not let your yogurts cool off after the sterilization. I used to put one isotermic bag in another isotermic bag then fill them with towels, put the yogurts there. After the oven reaches 122ºF I’ll put the bag there and turn off the oven.
Leave the bacteria alone for about 7 to 12 hours. The more time you leave the yogurt ferment the more acid it’ll be (read the science lesson above)
Enjoy your yogurt! I know I’ll 🙂 Mine are in the yogurt maker now.
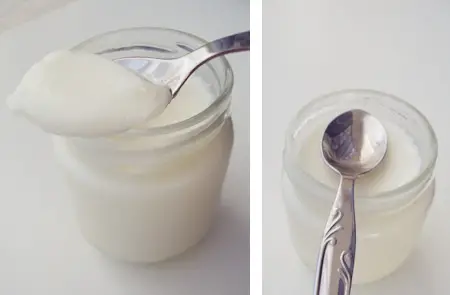
Let me know if you’ve attempted to make homemade yogurt using this recipe! I’d love to know your results.


4 comments
I have to admit, homemade yogurt scares me! But, we love yogurt in this house, so it would be nice to be able to make ourselves.
I found your site via a comment you left at ButterYum a while back. I am actually getting in touch with you to let you know about a “blog” of sorts that I’ve started, called TasteStopping.com. It’s a place where those of us who have had our photographs declined from TasteSpotting, FoodGawker or Photo Grazing can submit and have that same work published to help drive traffic to our sites. I hope you will check it out and give me your feedback. Even better, send me your photos!
The current home is: http://www.tastestopping.wordpress.com (until the official site is up and running). I look forward to hearing (and seeing) from you soon!
Thanks,
Casey
Great instructions. I do this too. What kind of yogurt maker do you have? Mine is a Donvier and I love it! But yours seems to have glass jars. Like that better. Keep posting about your yogurt creations. I am searching for ideas!
I had one of those machines but sold it on E-bay because I decided I would rather make one big batch than separate cups. Either way, you can add a bit of flavor (and thicken it too) by stirring in a teaspoon of instant flavored gelatin if you like. I like it with a bit of instant vanilla pudding and a bit of berry preserves. YUM!
I make yogurt in our crock pot 😀